How to Create Your Own Privacy-Enabled Sunglasses
by gh057
Introduction
In this modern era, we are more observed by photography and video than ever before. Our likenesses are recorded as we enter and exit public transit systems, traverse the city streets, and even interact with our AI-enabled devices. Separately, this seems harmless. However, when that content of your likeness is chained together, it turns into metadata about you! Now it's easier for our movements and privacy to be exposed and scrutinized.
This realization piqued my curiosity about what might exist to limit some of this data collection. I began researching the new wave of privacy-enabled products. What caught my attention was a pair of sunglasses whose goal is to reduce night vision-enabled facial recognition systems' ability to record your likeness and track your eye movement. Commercial products exist, but they are on the expensive side for the average consumer, so I wondered if I could make a "good enough" product that would work while still being fairly cost-effective. The good news is that they can be made and it's fairly simple. Keep reading for how to make your own low-cost, privacy-enabled sunglasses.
Materials Needed
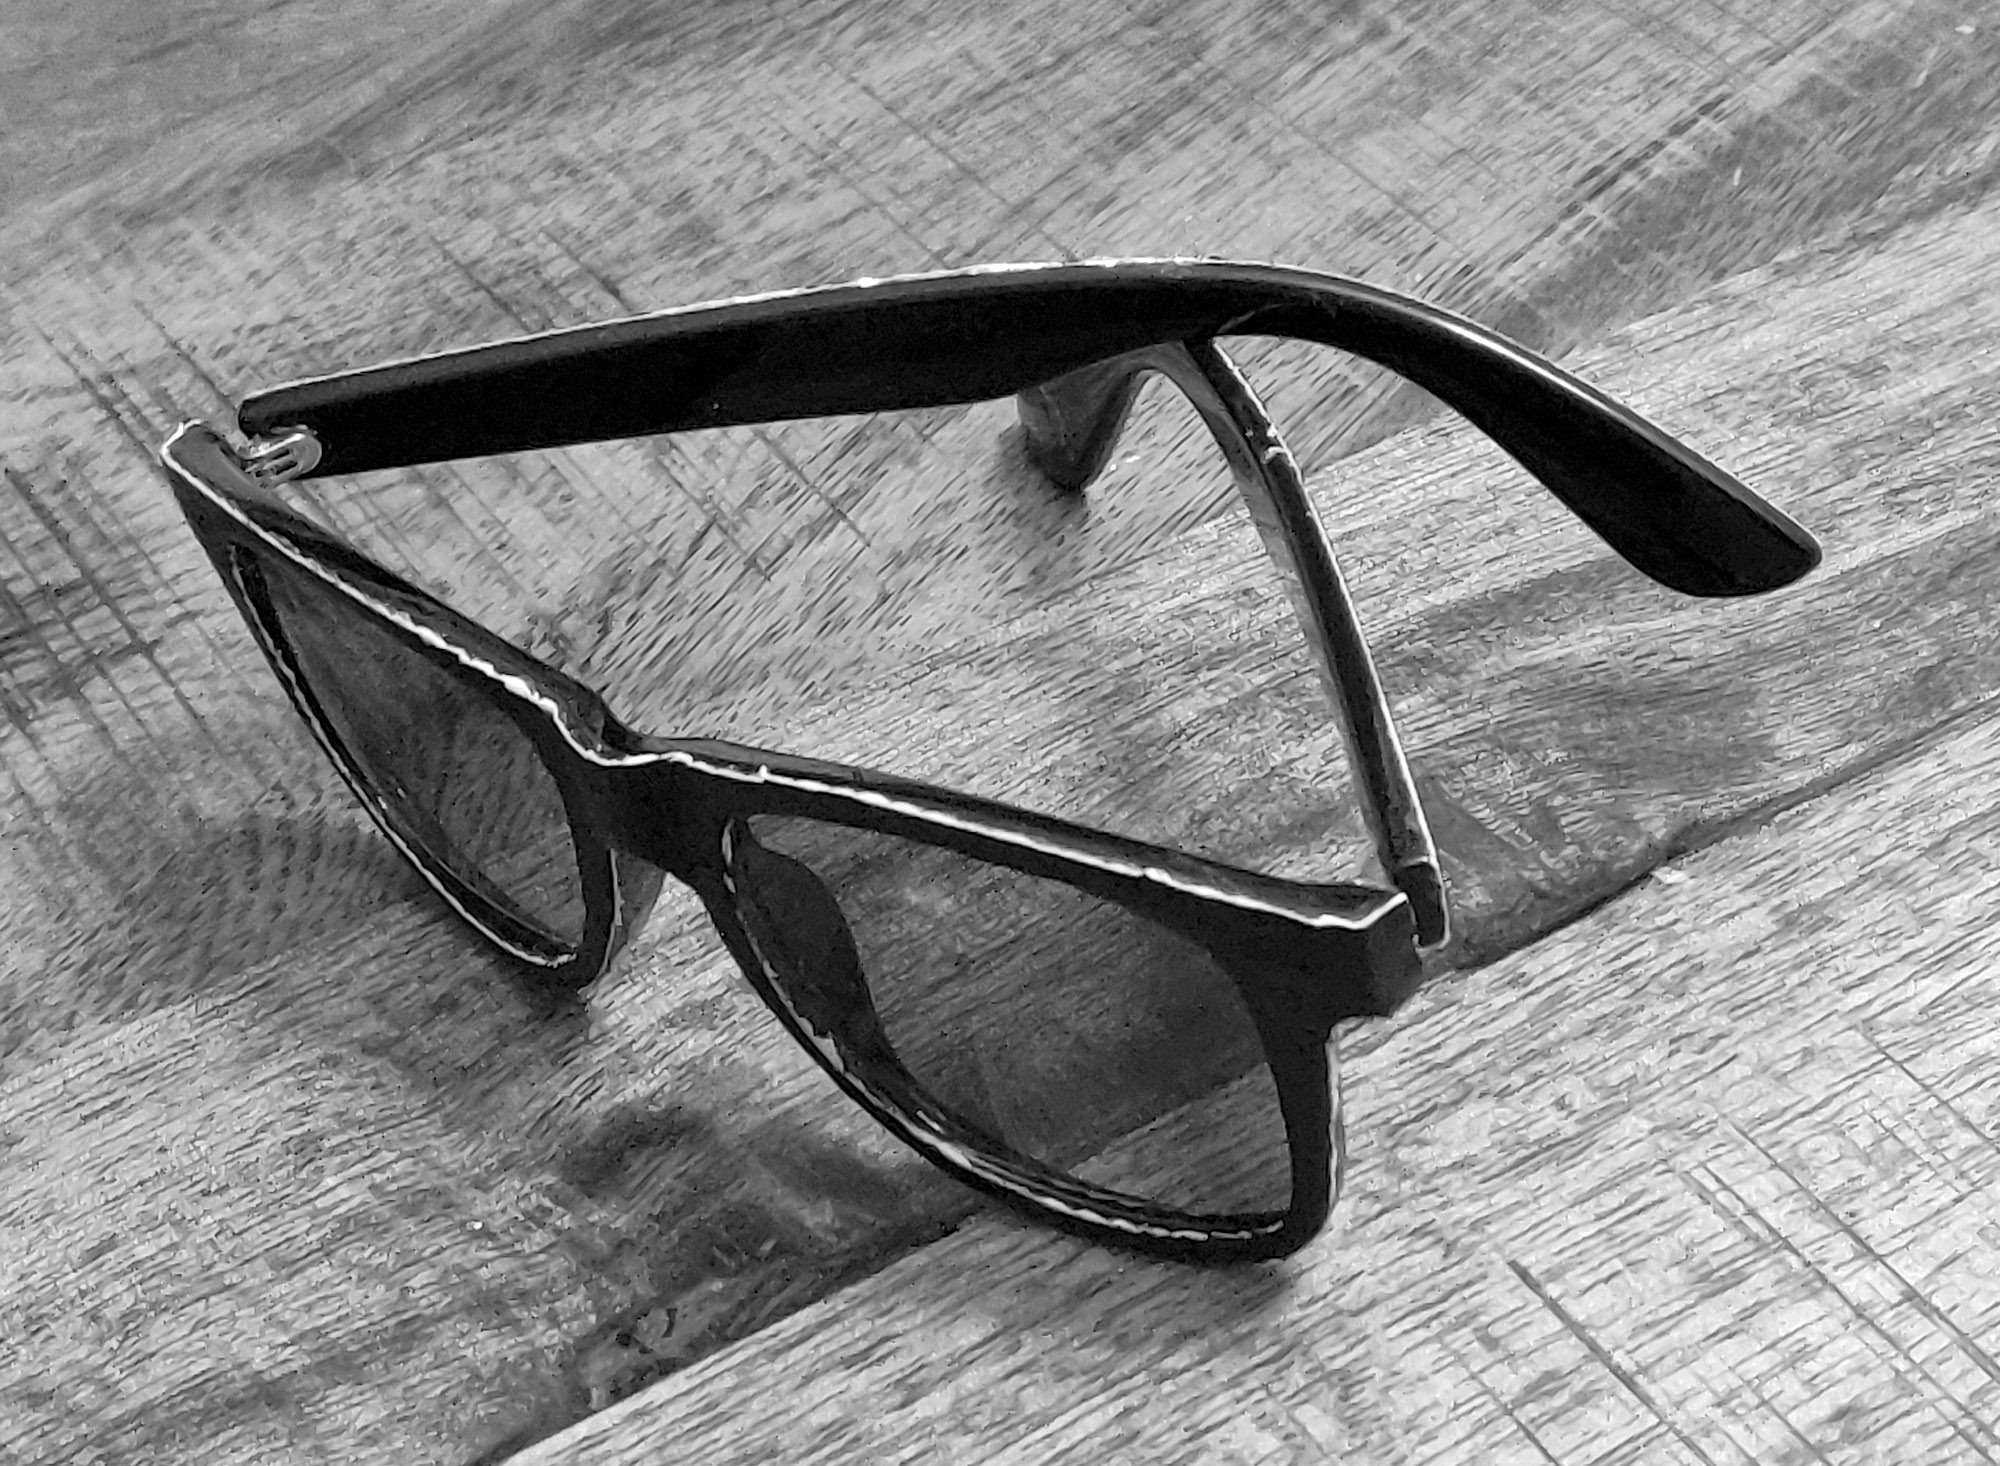
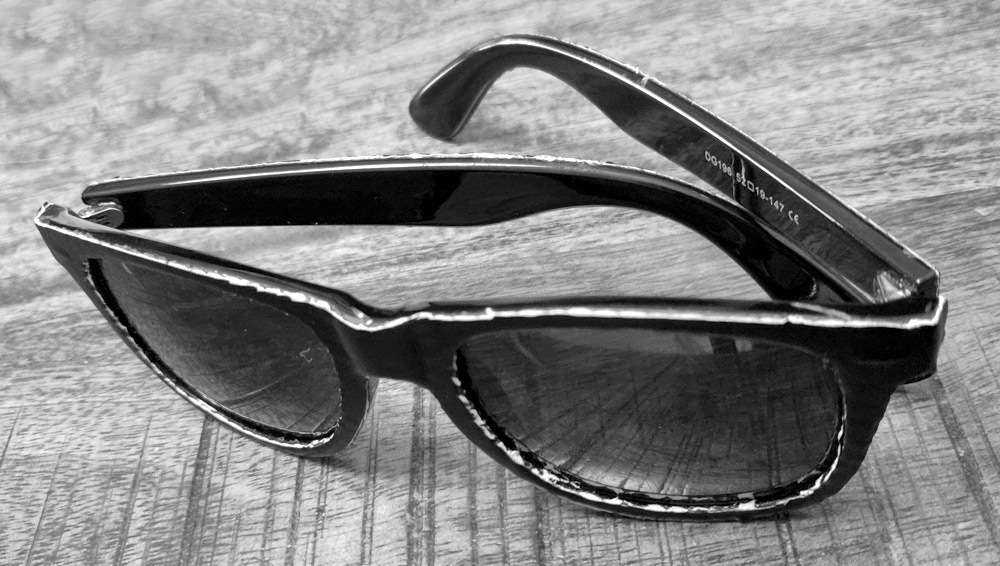
Sunglasses: Keep in mind that you will be wearing these at night as well, so do not get a pair with super dark lenses. The ones I got were tinted but not super dark. I opted for polarized lenses in the hopes I could get a bit more infrared reflection.
Infrared 3M SOLAS Magic Black Coated Adhesive Vinyl: You can buy these in strips from various sites like eBay and Amazon. Please note that these strips are not cheap at approximately $8 for a strip 20 inches long by 2.5 inches wide. Carefully measure the material requirements that you have.
Reflective Window Tint for Blocking Infrared: I learned that I needed this late in the game once I realized that the sunglass lenses did not reflect enough of the infrared waves. I purchased this from Amazon (link below) but any similar type product should work.
X-Acto Knife: You will need this to properly trim the adhesive vinyl though any sharp, accurate cutting device will work.
Night Vision Optics (optional): In order to truly test to see if this works, you need something that has night vision capabilities.
How Does 3M SOLAS Magic Black Vinyl Work?
According to the International Commission on Non-Ionizing Radiation Protection:
"Infrared radiation (IR), also known as thermal radiation, is that band in the electromagnetic radiation spectrum with wavelengths above red visible light between 780 nm and 1 mm."
Using specialized LEDs, night vision technology is able to produce visual images in very low light environments. 3M SOLAS Magic Black adhesive vinyl is a two-part product made and developed by Anytime Sign. The first part is 3M SOLAS (which stands for Safety Of Life At Sea) adhesive vinyl, which is reflective to both the naked eye as well as night vision technology. If I were to only use 3M SOLAS adhesive vinyl, then any source of light would result in my sunglasses reflecting. It's not very stealthy if every time a car drives by my sunglasses light up like Times Square on New Year's Eve.
It is the second part, the Magic Black coating, which provides the stealth needed. The Magic Black coating appears opaque to all light sources with the exception of infrared light. When infrared light is applied, the coating becomes invisible, thus revealing the reflective 3M SOLAS adhesive vinyl below and subsequently creating a highly reflective surface! How the actual coating interacts with infrared lightwaves is beyond the scope of this article and is most likely proprietary information for Anytime Sign, the developers of the Magic Black coating. However, there are some links below which can help answer at least parts of those questions.
Directions
Step 1: Obtain the Materials Needed
Most of the items above should be easy enough to obtain. The Infrared 3M SOLAS Magic Black adhesive vinyl is also easy to obtain if you know where to look. Simply go to eBay, Amazon, or Anytime Sign (www.anytimesign.com) and search for "3M SOLAS Magic Black Tape". Pay careful attention to what you are buying. Proper 3M SOLAS adhesive vinyl is not cheap and comes in small quantities. Anytime Sign sells directly on eBay using the seller name "anytimesign" (www.ebay.com/usr/anytimesign). For this application, I chose to look on eBay for strips of vinyl that were 20 inches long by 2.5 inches wide. For comparison purposes, the strips I purchased should cost between $8 and $10 each. Given that the width of the vinyl was longer than the width of the frame of my sunglasses, this worked out perfectly. It's preferable to try and find a width that will cover your sunglasses in one strip so that the sunglasses will appear as normal as possible.
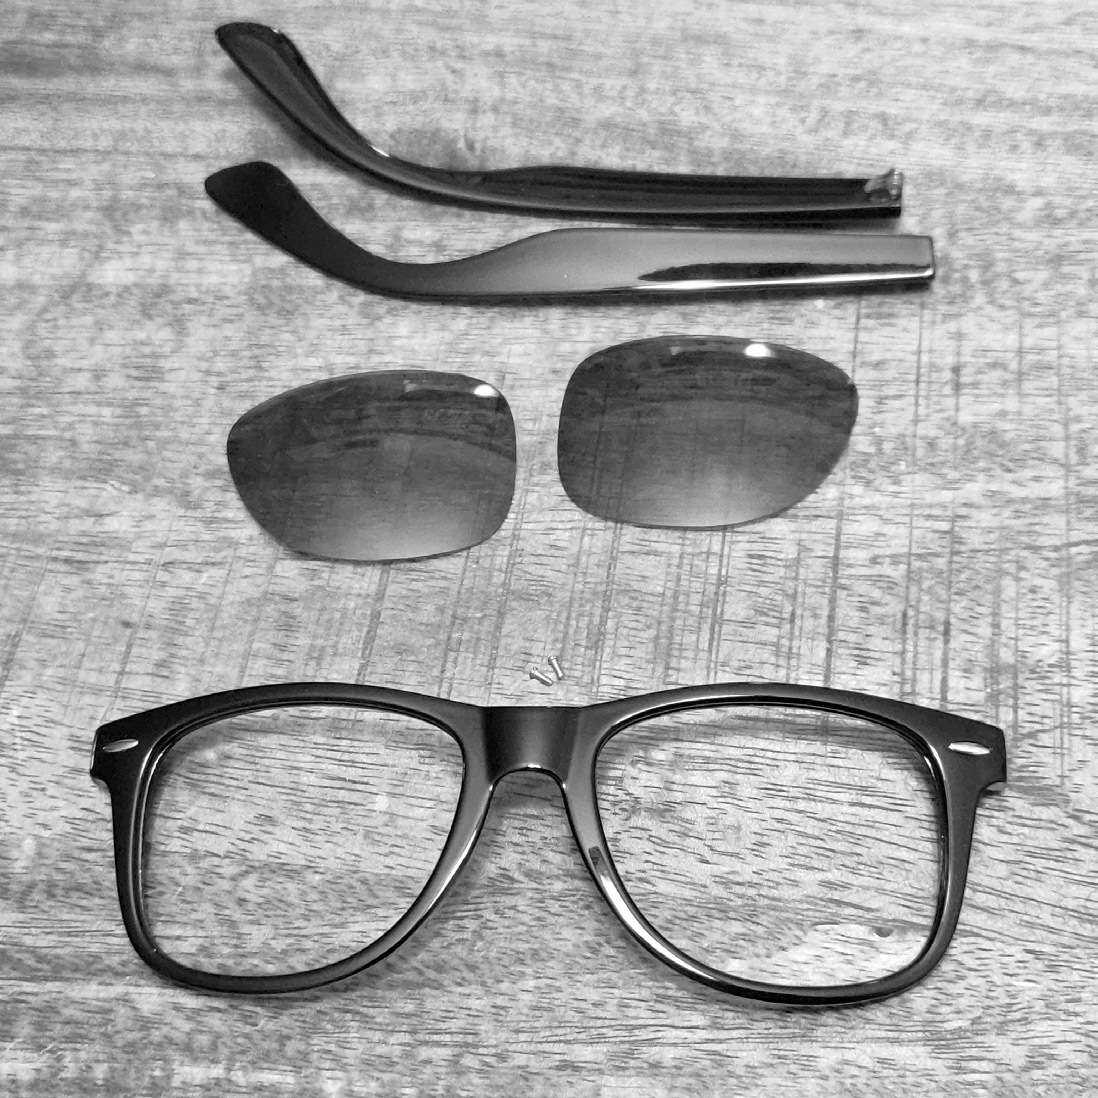
Step 2: Completely Disassemble the Sunglasses
When I considered all of the ways that I was going to attempt to cover the exterior side of the sunglasses, knowing that with the adhesive and the cost of the material I would have only one shot at getting this right, I felt that disassembling the sunglasses would be best. Completely take apart the sunglasses, including removing the frames. On cheaper sunglasses this is probably easier to do than on the more expensive counterparts.
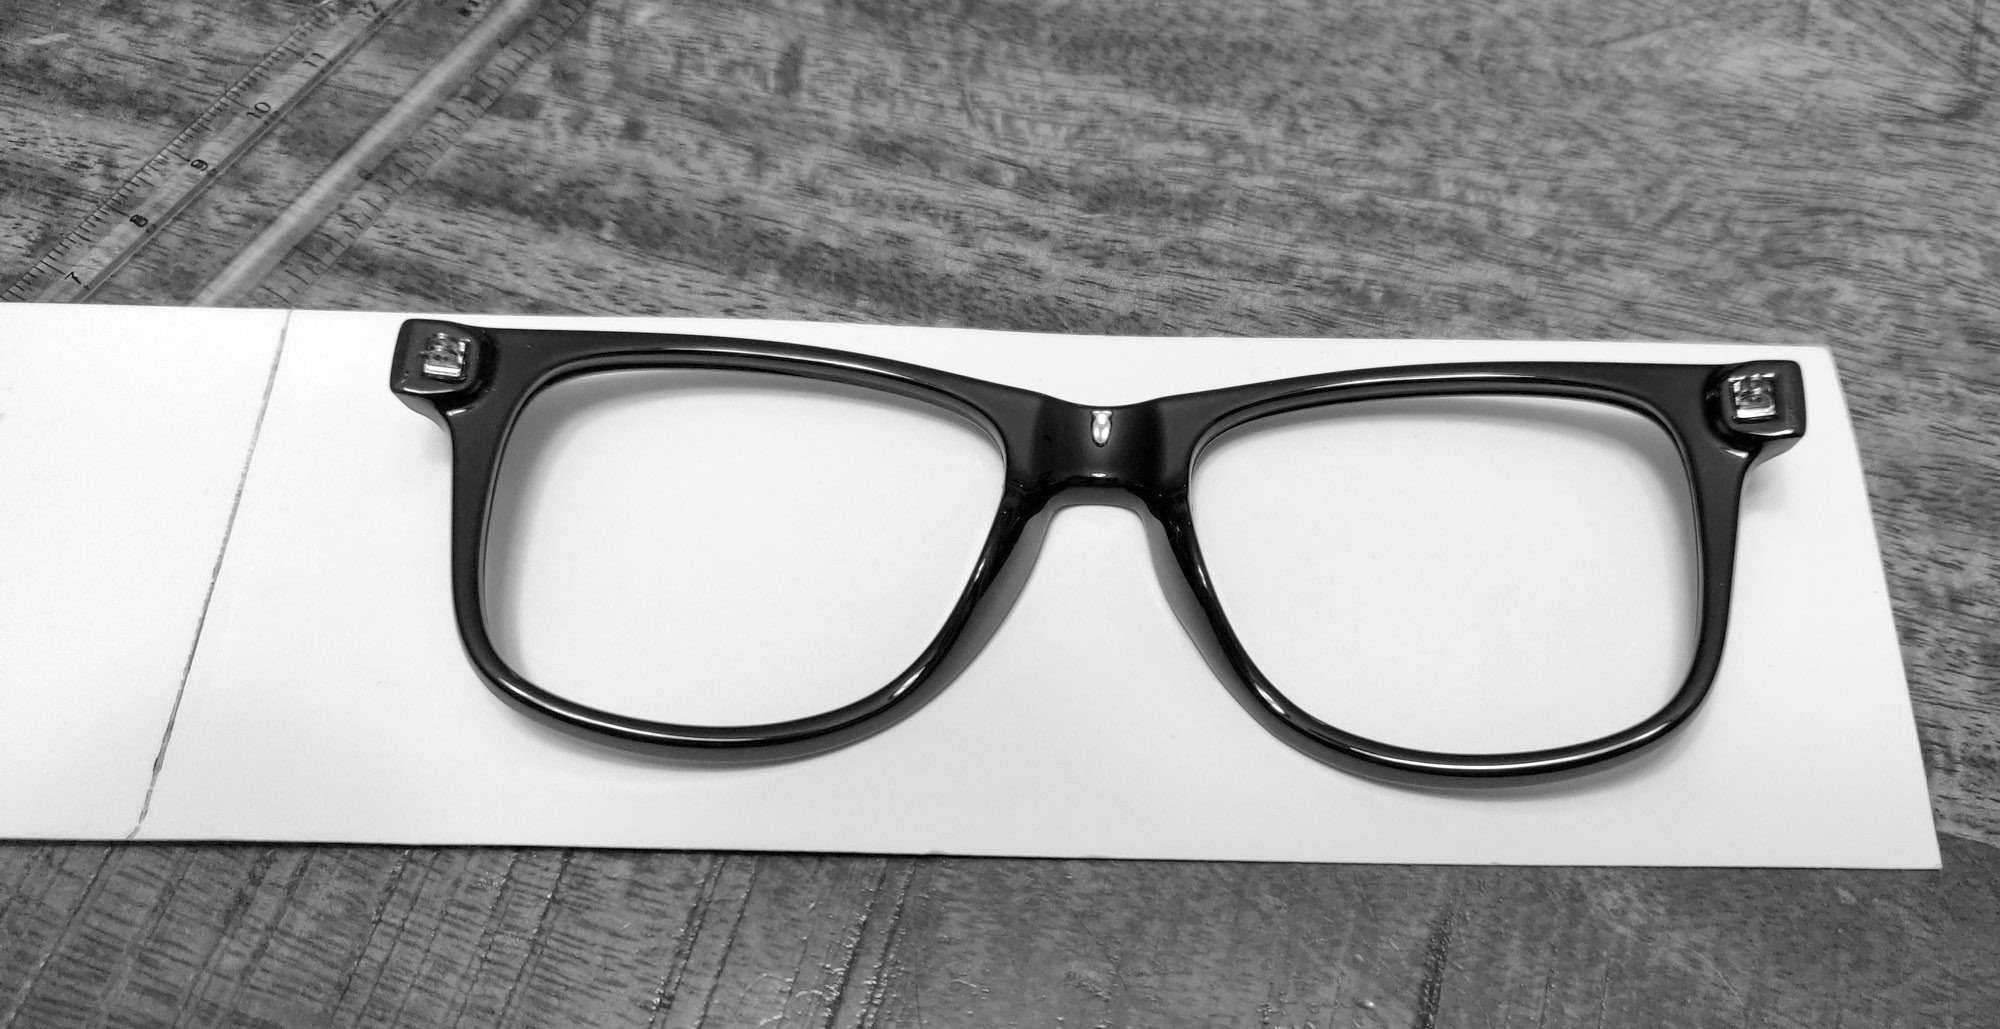
Step 3: Measure and Cut Strips of Vinyl for Application
Carefully measure each part of the sunglasses and cut the appropriate length of vinyl. Remember, you will only get one shot at applying the adhesive-backed vinyl for it to go on smooth. During the initial development of this process, I did screw up one time and I never did get all of the adhesive off of the sunglasses. I also lost about three inches of tape, which may seem like a trivial loss until you consider the cost. The good news is that if you make this mistake, applying more vinyl on top of the affected area will not interfere with its ability to function, but it may look hoaky to the naked eye in broad daylight.
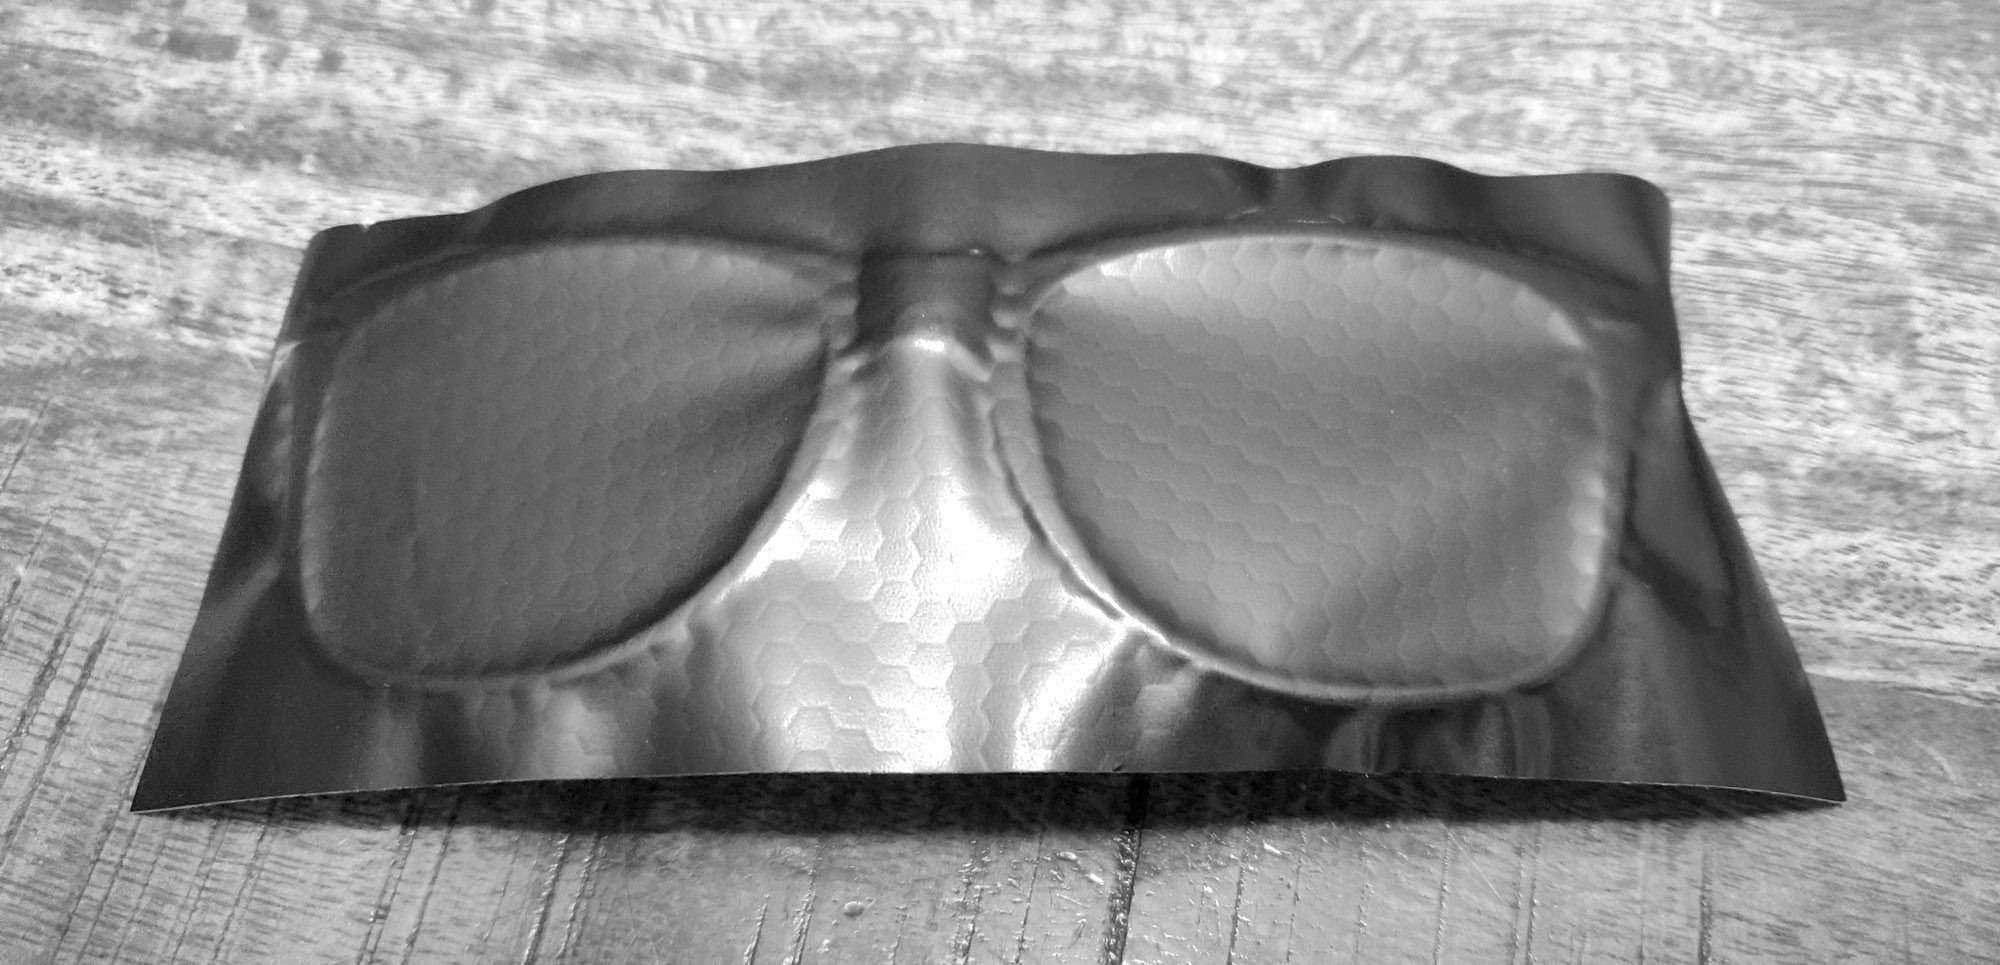
Step 4: CAREFULLY Peel the Adhesive Backing and Apply
I cannot stress care enough here. The adhesive is just strong enough to be really annoying if you miss the very small window of time you would need to reapply the adhesive vinyl. Take your time and take care to do this slowly and methodically if you want it to turn out decently. Once applied, make sure that you press down all of the contact points to ensure a proper adhesion to the surface of the sunglasses. Allow time for the adhesive to bond with the sunglasses. This is important for the next step so that you don't accidentally pull up your hard work when you cut. Personally, I think I spent about 30 minutes pressing contact points and smoothing the surface before moving on.
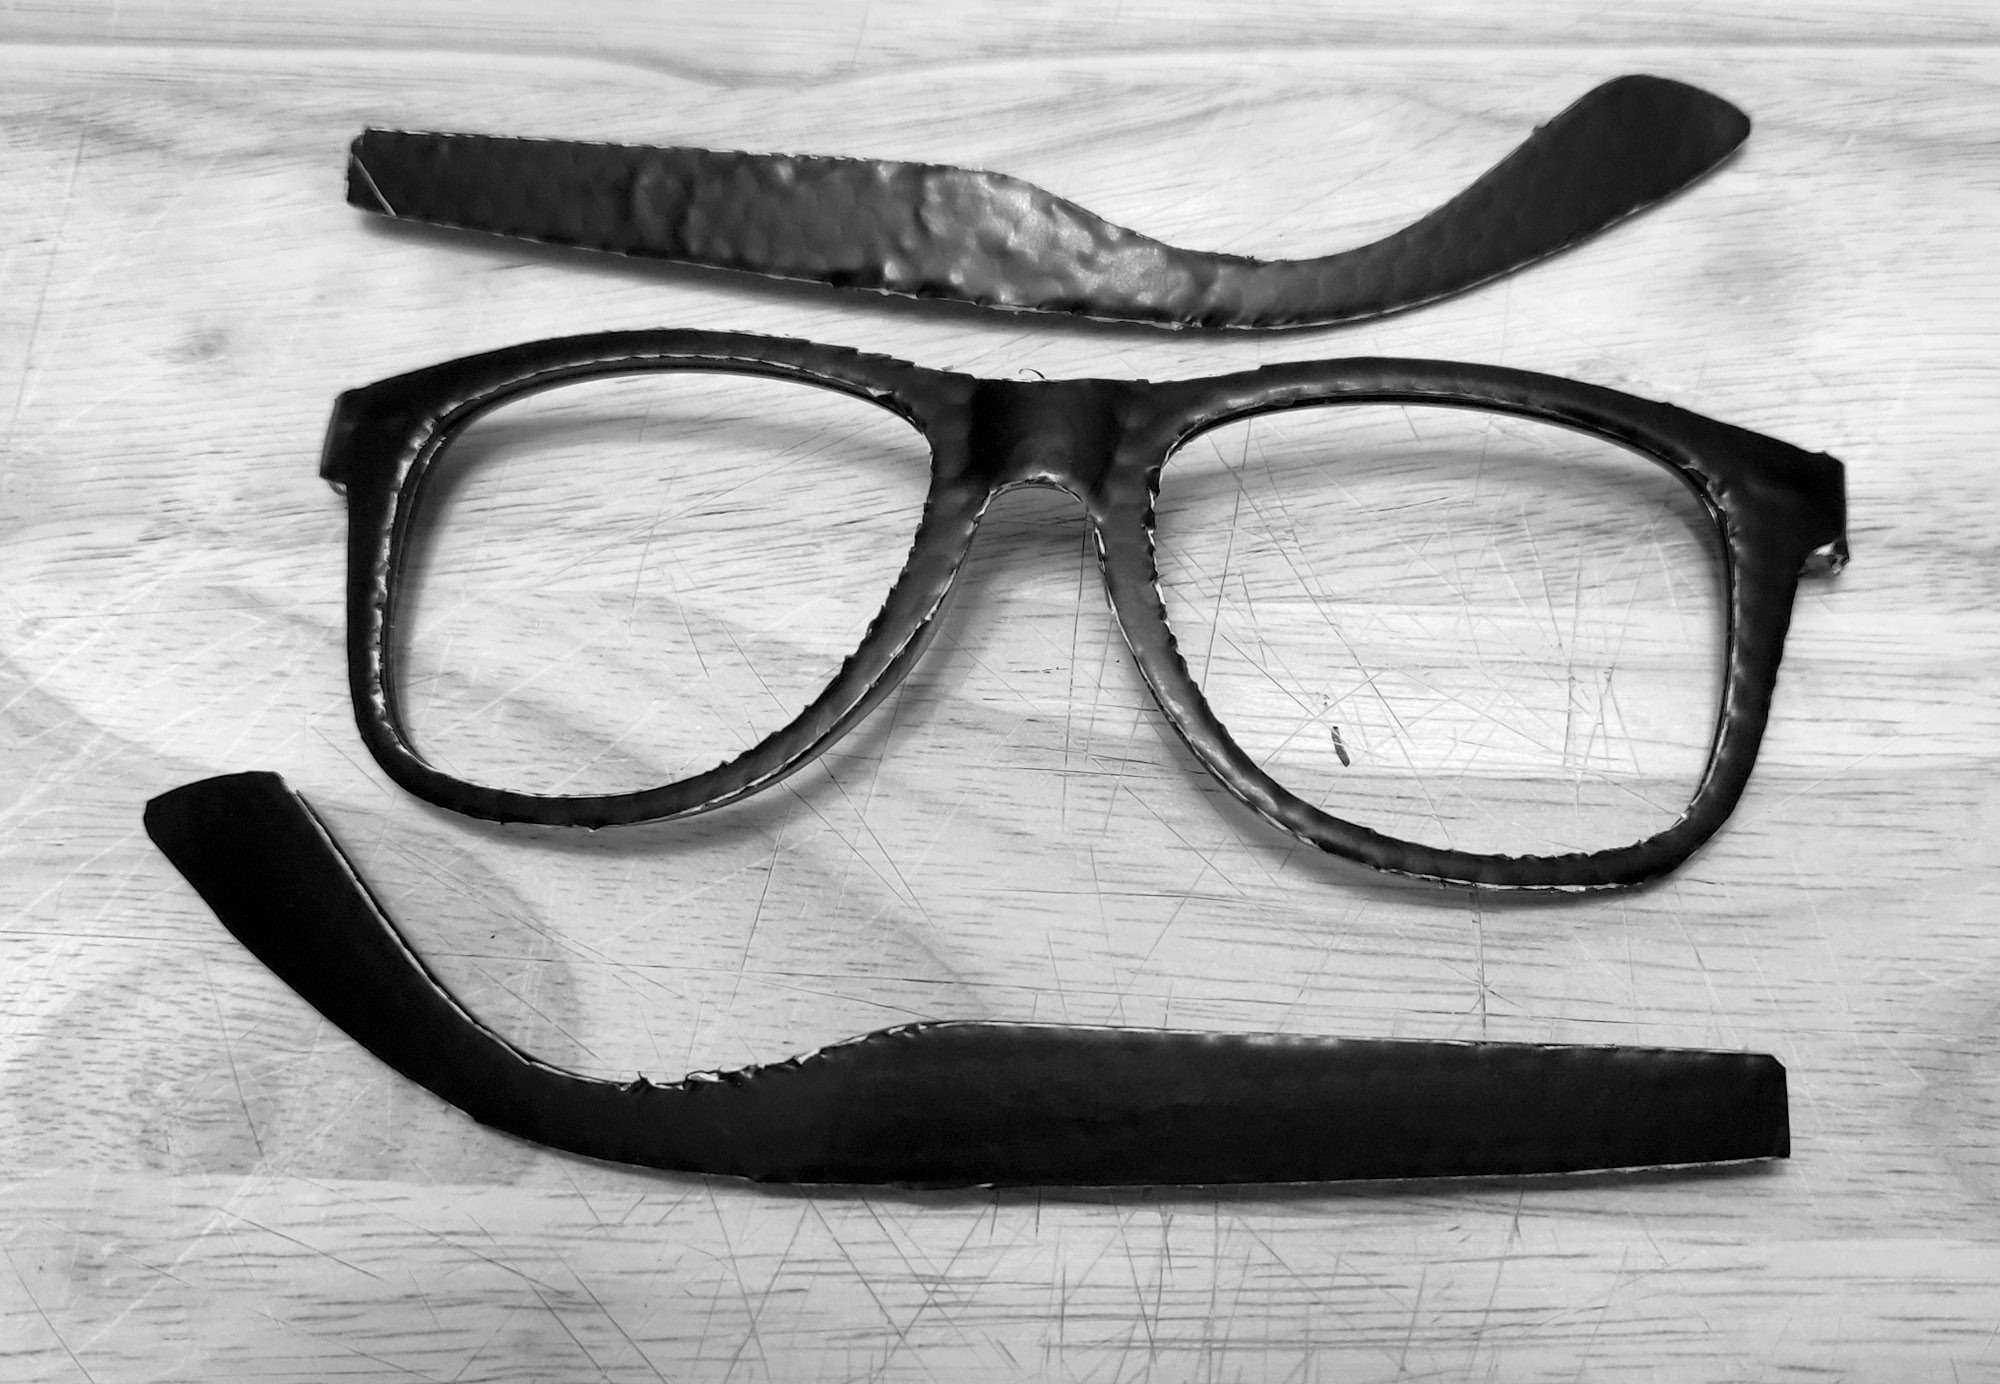
Step 5: CAREFULLY Cut Away the Excess Vinyl
Again, I would urge the use of caution here. Using the X-Acto knife, cut out the shape of the sunglass components so that there is no overlap. One technique that I found worked well is to poke through the vinyl and fix the knife to a point in the surface below. Then, move the sunglasses around, cutting the excess away while the knife remains stationary (much like the actions you would take with a sewing machine). Just for clarity, this is opposed to the knife being pulled and slicing the excess tape off and keeping the sunglass component stationary. For some reason, I found that every time I tried to move the knife and not the sunglasses, the vinyl would bunch up and start to cause a ripple. Doing it the way I recommend above gives you a fairly decent cut. Make sure that no vinyl was pulled away during the cutting process. This is critically important to ensure that your sunglasses have the most polished look possible.
Step 6: Reassemble the Sunglasses
This step should be fairly easy. Just put everything back together. I'll let you know in advance that the little, teeny tiny screw to affix the arms to the front of the sunglasses will annoy you a ton. Using a small electronics tweezers will go a long way in ensuring you maintain your sanity during this step.
Step 7: Go Find a Dark Room and Test!
For testing purposes I used my child's old Spy Gear Ultimate Night Vision Goggles (www.amazon.com/Spy-Gear-Ultimate-Vision-Goggles/dp/B011NMEVHG). Granted, you may have something that works better with much better quality; I did not. As you'll probably notice, this mostly worked, which may suffice for most folks. However, I wasn't happy with the lack of infrared reflection of the lenses. I needed to see if there was anything more that could be done (within budget, of course) to improve these glasses.
Step 8: Applying Infrared Reflective Window Tint to the Lenses
After much digging, I found a product that I hoped would work. My goal was to find a window tint whose goal was to reflect infrared and ultraviolet rays to keep rooms cool from the sun. I surmised that the broad spectrum of rays that the tint would block would include most of the rays that I cared about. The product that I ended up buying was called "SW Window Film Daytime Privacy Protection One Way Mirror Reflective Adhesive Window Tint Heat Control Anti UV Window Glass Film, 17.7 inch x 60 inch, Blue/Silver" from Amazon (www.amazon.com/SW-Privacy-Adhesive-Control-17-7Inch/dp/B07R4WKDFQ). Once it arrived, I took the following steps:
- Remove the lenses from the sunglasses. It's probably easier to work on these if they're pulled out.
- Clean the lenses so that there aren't any smudges.
- Cut out a sheet big enough for both lenses and room for you to struggle pulling the film backing off. Yes, the film backing is surprisingly more annoying then the little, teeny tiny screw which holds the sunglasses together.
- Affix the film adhesive to the inside of the lenses. Yes, that's right, this is going on the inside of the lens. This is a one-way film, so if you do the opposite, the effect will not work. I will tell you that I struggled to get this film to lay without wrinkles and eventually gave up. The wrinkles that are there do not obstruct my view.
- Cut the lenses out and put them back in the sunglasses. While, like me, you're probably using cheap sunglasses for this, you still want to be careful not to scratch the lens with any cutting implement.
- Now, go back and test again. The second time I tested with this produced much better results. I could no longer see any eye movement that might be trackable.
Results
To be honest, I didn't quite know what to expect. I didn't know if my DIY approach was going to work wonders or if it was going to miserably fail. When we tested the glasses in the closet and I was within a foot of the face of the person who was helping me test, the glasses were definitely bright, but I could still see some eye movement, even with polarized lenses (which did marginally work). This led me to try applying the window film which had an improvement for sure. Given that most of us will not be putting our faces one foot away from a security camera with facial recognition, I separated myself by the length of the small walk-in closet (so approximately eight feet apart). It's worth noting that the farther we stood apart, the worse the quality got and the more blurry and bright the glasses became. This could very well have been an aspect of the toy exacerbating the distortion as well. For further testing, we walked outside and tested the glasses next to a building in my complex to see if there would be any difference. If my goal was to provide myself with a bit more privacy protection at night when I'm casually walking down the street, I would say that I succeeded.

As mentioned a few times throughout, there are commercially made solutions which look nice and probably do an arguably better job, but they come at a cost. The total cost for my solution was approximately $35 (one strip of tape, the window film, plus the cheap sunglasses). The starting cost of some of the commercial versions is around $90 and can go as high as $165. Don't get me wrong; sometimes you need a solid, commercially-built product that looks and works well. Other times, you can opt for the "good enough" approach and save a few bucks. Hopefully you found this as fun and helpful as I did when I was making these.
Stay safe and happy hacking!
Additional Links
Some of you may have additional questions about the Magic Black product or how the optics actually work. Below are links to the manufacturer's two websites which should help out a lot. If you're still confused, simply call them. They were really helpful on the phone and spent a good deal of time explaining to me what I would need and where I could buy it.